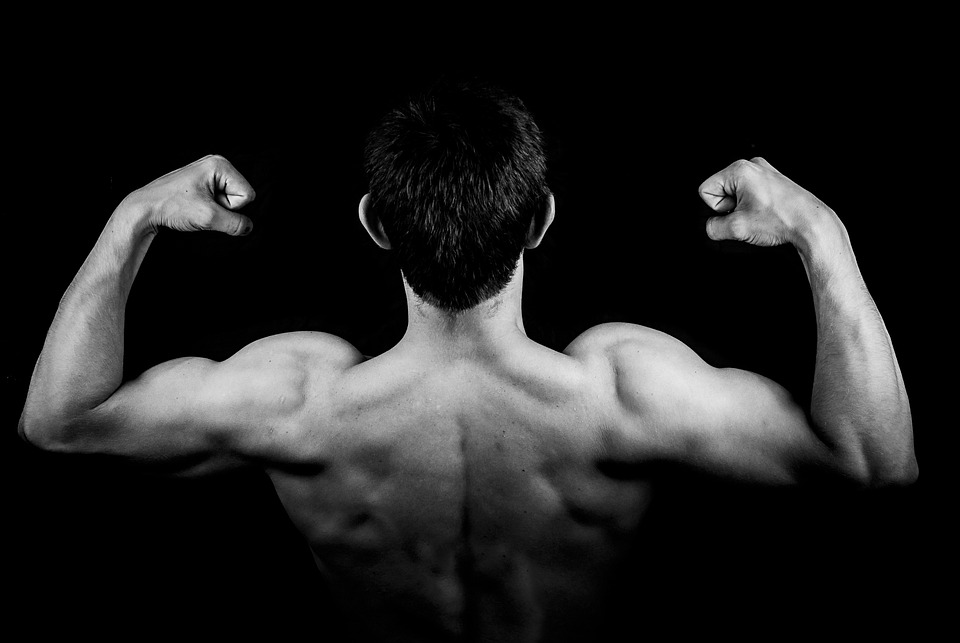
There are many exercises you can do to build muscle and strength in your back. If you train with the right exercises and the correct form, you will be able to lift more weight, have better protection for your spine, and see an overall improvement in your performance in everyday activities. Below are some excellent back exercises to help build your workouts.
Deadlift
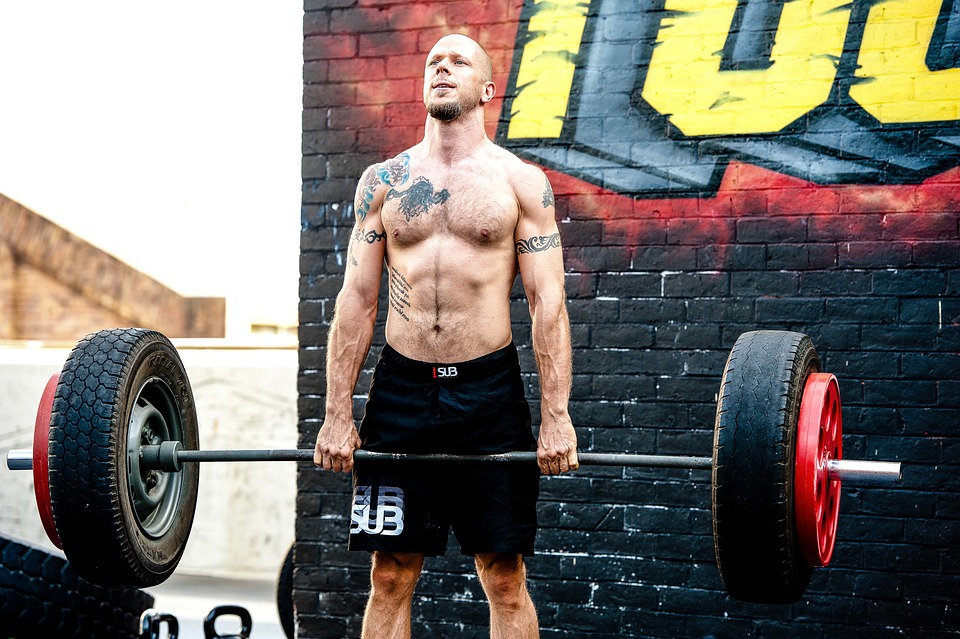
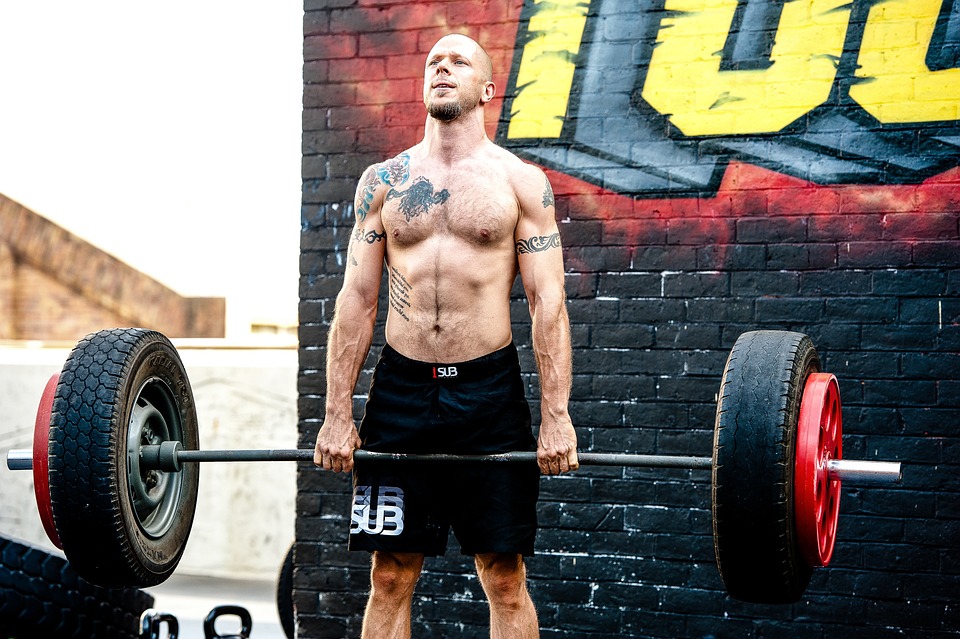
The deadlift is one of the best exercises for adding size and strength to your back and leg muscles. The stiff-leg deadlift is an exercise that indirectly works the back muscles, but places a significant amount of tension across the back and entire torso, making it an effective exercise for building mass.
To Deadlift effectively and safely, you must understand the technique and practice it regularly.
How to Do the Deadlift
Stand with your feet shoulder-width apart with the bar a few inches in front of your shins, aligned over the knot of your shoelaces. Start the movement by driving your hips backward, allowing your knees to bend slightly as you grip the barbell just outside of shoulder-width with a palms-down grip. Keep your back and torso stiff and your arms straight. As you pull your chest and shoulders upwards, push your legs onto the floor to lift the bar and stand up into a fully upright position.
Pull-Up
In other words, the pull-up is a great exercise for your upper body muscles that doesn’t require any special equipment. All you need is a bar that can support your body weight.
In order to maximize the results of the movement, focus on controlling the eccentric portion of the lift and keeping your torso rigid throughout the entire range of motion.
How to Do the Pull-Up
Grip the bar with your palms facing down, slightly wider than shoulder-width. To do a pull-up, hang from a bar with your palms facing away from you, and make sure your core is engaged so your body is stiff and you’re not swinging.
To start the movement, squeeze the muscles in your upper and middle back. Your goal should be to lift your chin above or to bar level. Drive your elbows down toward your pockets. If you weigh more or are new to the lift, do more sets with fewer reps to build your strength.
Inverted Row
This exercise is effective for beginners because you only have to lift a portion of your body weight. This means it will help you get stronger so you can do a pull-up.
The exercise is also extremely useful when training at home since it requires only solid support and a sturdy surface for support. This means that a bodyweight-only workout is not just limited to doing pull-ups to work your back.
How to Do the Inverted Row
Place a bar in a stable rack. The bar should be adjusted to a height where you can just reach it when lying on the ground. Place yourself underneath the bar, gripping it with both hands above your head. Your arms should be locked and your body in a rigid plank position so that your body forms a straight line from your neck to your heels.
Pull your elbows toward the ground and drive your chest toward the bar to lift yourself. Slowly lower your body back down to the starting position.
Suspension Row
This move is called the suspension row. It is an effective bodyweight movement that is a step up from the inverted row. You can make the exercise more or less challenging by quickly adjusting your stance and body position.
This is a great exercise for developing overall strength and body control while allowing for a less restricted arm path. Using a computer mouse that is the right size helps to prevent discomfort in the wrists, elbows, and shoulders.
How to Do the Suspension Row
Stand with your feet shoulder-width apart. Grip the handles and lean back. To make the exercise more or less difficult, adjust your body angle. The more you keep your body up, the easier the exercise will be.
sitting in a rigid plank position, with your feet on the ground, drive your elbows back and pull yourself toward the handles. Do not let your elbows flare out to the sides and do not let your shoulders slump forward.
Bent-Over Barbell Row
The bent-over row is a great exercise for adding versatility to your training program. The exercise can be performed with a traditional barbell, a hex bar, kettlebells, or dumbbells. To improve your skills more effectively, stay with one variation for at least a few weeks before you change it.
The barbell row is a basic exercise that allows you to build strength in both the upper and lower body. The muscles in your lower back, glutes, and hamstrings work to keep your lower body stable, while the muscles in your upper back, mid-back, and biceps help pull the bar toward your stomach.
How to Do the Bent-Over Barbell Row
To set up for the rack pull, stand with your feet hip-width apart in front of a loaded barbell as if you were setting up for a deadlift. If you have long legs, you may want to put the barbell on blocks so you can have a more comfortable starting position. Bend at the hips and let your arms hang down.
With your palms facing away from you and your hands shoulder-width apart, grip the barbell just outside of your shoulders. Keep your elbows back and up as you pull the bar toward your upper abs.
Single-Arm Dumbbell Row
Among Golden Era bodybuilders, this single-arm row variation was popular for building muscle size and strength across the entire back.
It can help with grip and arm strength, and fix muscular issues that might have come from past injuries or not going to the gym regularly.
How to Do the Single-Arm Dumbbell Row
Stand behind the head of a high-angle incline bench. Put one hand on the bench and lean over with the same-side leg forward so your shoulder is under the leg.
Reach your free hand down to pick up a dumbbell from the floor by your feet. As you are lifting the weight up, keep your palm facing your body and your elbow even with, or just past, your torso. Control the dumbbell back down to the stretched position.
Wide-Grip Lat Pulldown
Performing a lat pulldown is very similar to doing a pull-up, except that you are sitting down during the lat pulldown. The pulldown exercise is very effective for training to be able to do a pull-up.
The constant resistance of the cable helps to create a more stable environment while improving time under tension, which can lead to increased muscle size.
How to Do the Wide-Grip Lat Pulldown
Take hold of the long bar attachment, keeping your grip slightly wider than shoulder-width, with your palms facing downwards. Secure your legs under the thigh pads and sit down. To properly execute this exercise, you must keep your core tight and your torso upright while pulling the bar down toward your chest.
In the bottom position, try to pinch your shoulder blades together. As you slowly return to the starting position, resist the weight.
Neutral-Grip Lat Pulldown
The grip for this variation of the pulldown is with the palms facing each other (neutral grip). You can focus more on your lats and biceps than your upper back by adjusting your grip.
A neutral grip is better for your arms because it uses more biceps and recruits more back muscles. The advantage of this grip is that you can lift heavier weights more safely than with other types of pulldown grips.
How to Do the Neutral-Grip Lat Pulldown
Attach a neutral-grip handle to the desired weight, sit on the machine with your legs secured under the thigh pads, and grip the handle with your palms facing each other. Start by keeping your core tight and your torso upright. Then, pull the bar toward your chest.
To keep the stress on your lats, aim your elbows forward instead of to the side. Maintain control of the movement back to the starting position.
Bonus: Trap Bar Exercises To Move More Weight With Less Strain
Trap Bar Bent-Over Row
Since the handles are elevated, the trap bar bent over the row is easier on your lower back. you don’t have to lean over as much to support the weight. With this move, you’ll be using wider, neutral-grip handles.
This position allows you to use more weight than normal, challenging your traps, forearms, biceps, and lats. Neutral grips tend to make lifters stronger.
How to Do the Trap Bar Bent-Over Row
Bend down at the waist and grab the trap bar from both sides. Squeeze your shoulder blades together. Pull the trap bar off the ground and row it back until the back of the bar almost touches your glutes. When you are doing the movement, make sure your elbows are at a 45-degree angle. Stay in the top position of the row for a moment. Slowly lower the weight back down. Repeat.
Trap Bar Tall-Kneeling Shoulder Press
Not can everyone who does weightlifting do barbell overhead presses because they lack the mobility and stability that is necessary. Enter the tall-kneeling shoulder press. The neutral grip is less likely to cause injuries to your wrist and elbow than barbells.
The tall-kneeling position requires the lifter to use its core muscles to stay upright and stable. You will improve your skills at pressing and develop strong abs. Sounds like a win-win.
How to Do the Tall-Kneeling Shoulder Press
Set up the trap bar in the squat rack. Get into a strong tall-kneeling position. Set the pins above shoulder height. To perform a chin-up, grip the high or low bar with your wrists in a neutral position and grip tightly. Press with control until your elbows are locked out. Pause for a second. Slowly lower back down to the pins. Reset and repeat.
Trap Bar Floor Press
They think of this movement as a combination of the regular floor press and the neutral-grip dumbbell press. Pushing up from the floor limits the range of motion (ROM), letting the lifter move more weight and avoiding your shoulders from being overworked.
When you grip the barbell with your palms facing each other, it’s called a neutral grip. This creates a more stable pressing environment because your wrists, elbows, and shoulders are all stacked on top of each other, giving you a strong base.
How to Do the Trap Bar Floor Press
Place the trap bar on the squat rack so the flat handles are down and the D handles are up. Lie on the floor. Grab the flat handles. Unrack the trap bar with your wrists neutral. Slowly lower until your upper arms touch the floor. Press back up until lockout.
Trap Bar Suitcase Carry
Carrying a suitcase in each hand is great for your grip and will help build your core muscles as you walk. It also has real benefits for everyday life. How often do you need to carry a ton of groceries with just one hand? Probably more often than you’d like, especially when you’ve got a coffee on the other hand. If you use the trap bar, this move will be more difficult as the weight is not centered.
An advantage of a trap bar is that you can lift heavier weights. Be sure that you can control the amount of weight before you begin to load anything.
How to Do the Trap Bar Suitcase Carry
Starting the trap bar from its side position is easier. Load the plate onto both ends. Find the center of the bar and hold it tightly. Lift the trap bar. Keep your shoulders down and level with each other. Walk slowly while keeping your upright posture. After you walk the designated distance or time, set the trap bar down. Rest it on the side of your leg. Hold with one hand as you turn around. Swap sides and repeat.
Trap Bar Elevated Split Squat
Split squats are an excellent way to focus on developing your leg muscles because they work on each side of your body independently and require a greater range of motion. This movement can be performed with a kettlebell, dumbbell, or even a barbell.
However, the trap bar forces the lifter to keep tension on their legs as they can’t physically lock their knees out. The tension created by constantly working out will lead to more muscle mass over time.
How to Do the Trap Bar Elevated Split Squat
Step up onto the bench with your back foot, then pick up the trap bar with both hands and hold it so the D handles are up. Squat down with a forward lean. Grip the D handles. Squat down until the back bar is level with your thighs. Slowly lower down. Stop before the weight plates touch the floor. Squat up. Repeat for reps.
Trap Bar Figure-8 Carry
Trap bars can hold more weight than dumbbells and kettlebells, so you can put more weight on them. This means that you can increase the potential for muscle growth and make your grip even stronger.
Why use a figure-eight pattern during your carry? An exercise bike that is a recumbent bike is a good choice if you want to be able to cover more distance in a crowded gym. The figure-eight motion also helps improve core stability and coordination.
How to Do the Trap Bar Figure-8 Carry
Assume your deadlift stance. Pick the weight up. Don’t rush as you start your walk. Move in a figure-eight pattern. Keep your chest up and shoulders down. When you’re done, come to a full stop. Lower the weight with control.

