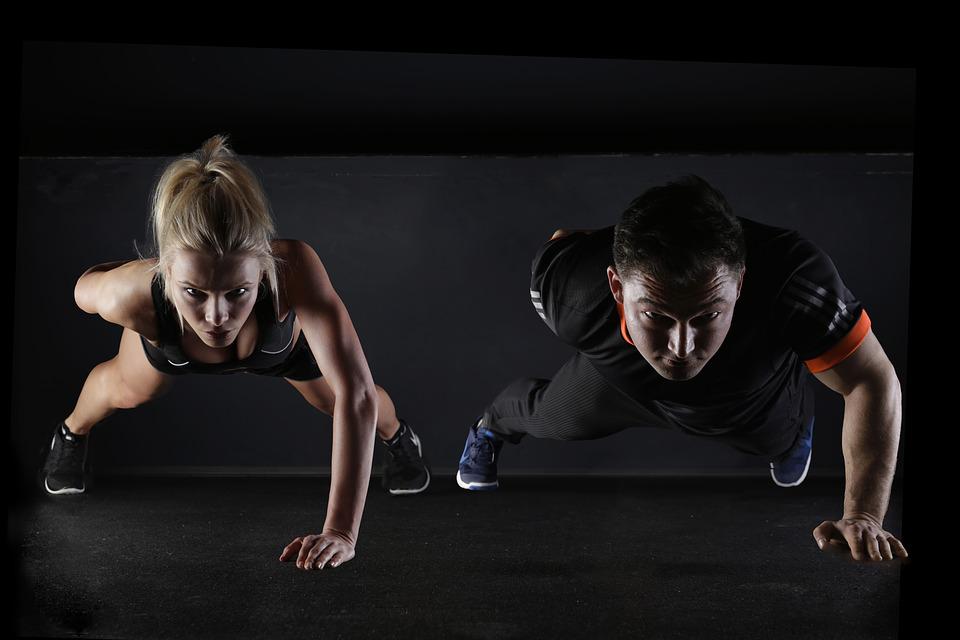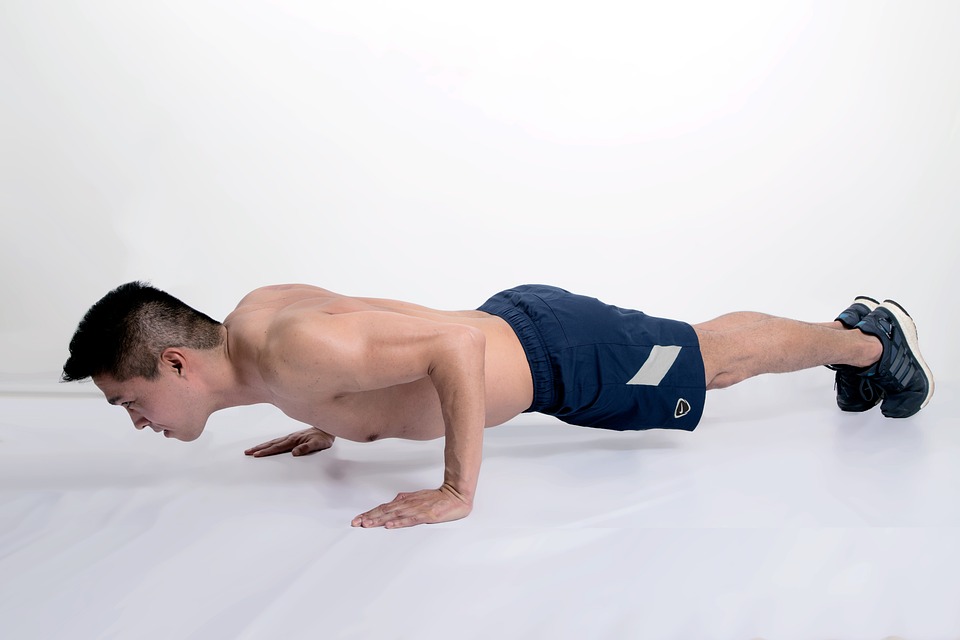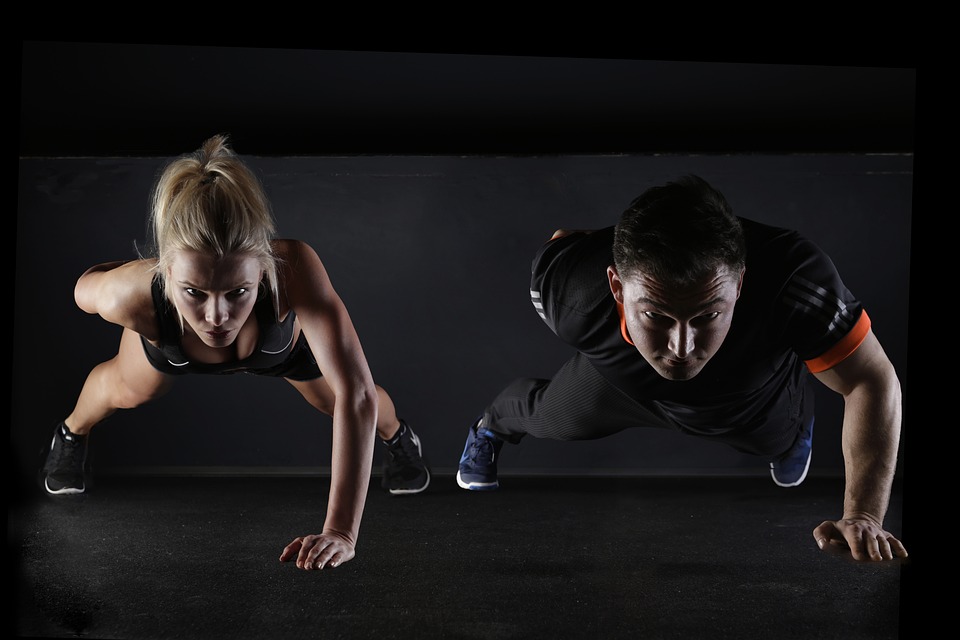
The Push Up is a full-body exercise that works lots of major muscle groups including:
- Pectorals – these are your fan-shaped chest muscles and are heavily used in all pushing exercises.
- Triceps – another pushing muscle attached to the back of the arm. The triceps work hard at straightening the arm. So if you don’t fully straighten the arm you won’t get the most out of these muscles.
- Deltoids – the shoulder muscles play a large role in all pushing exercises but also in the stabilization of the upper body to maintain alignment during the exercise
- Serratus Anterior – these muscles on either side of the rib cage attaches to the shoulder blade and prevent it from winging during movement. Well-developed serratus anterior muscles look like a bunch of bananas just underneath the armpit. Nice!
- Abdominals – there is loads of core involvement in the push-up. From the Push-up position, gravity forces the hips to the floor and it’s your core muscles that prevent this from happening. You can think of the Push up as a moving plank exercise from the hands.
- Glutes – the large buttock muscles are responsible for extending the hip and stabilizing the core. When you hold your body in the straight position of a Push up it is your Glutes that are keeping your hips extended and in line.
- Latisimus Dorsi – these large wing-like muscles on the back of the body run from your arm down to your buttocks. Not only do they create internal rotation of the arm but they help with stabilization all the way down to the buttocks too!
- Secondary Muscles – there are so many more muscles involved in the push-up that also help with correct alignment and stabilization. The back of the body is actually more involved than you might first imagine.
How to Do the Perfect Push Up
Doing Push ups is much more than merely performing a descending and ascending movement a few times.
Let’s see how to perform the exercise correctly:
1. Hands
The way you place your hands can fluctuate, but in general, if you bring your hands closer together, more of your triceps will be involved.
The more you spread your hands apart, the more your shoulders are involved.
More on the different types of Push Ups later.
Maintain your hands spaced out at a distance that is the same width as your shoulders and situated directly underneath them. Fingertips should be facing forwards.
If you have sore wrists, try doing push-ups with your hands clenched into fists.
Put a mat or towel beneath your fists to make this easier on the body.
An alternate solution for painful wrists could be to attempt using push-up bars which place the palms in a varied situation that a few people find more bearable.
2. Feet
Sticking your feet together will help activate your central muscles, however, if you find it too hard to balance, it’s alright to spread your feet a bit farther apart for ease.
You can observe many individuals doing push-ups with either one foot lifted or placed on top of the other one. This makes the exercise less stable, intensifying the core and shoulder muscles’ requirement to help in stabilizing the body during the action.
3. Shoulder Blades
During a push-up, you should resist the urge for your shoulder blades to spread apart or extend out at the back. Having poor posture when doing push-ups often occurs due to weak serratus anterior muscles, so it is crucial that a lot of effort is put forth to keep your back in a horizontal position while doing push-ups.
As you focus your attention on the area of your back between the shoulders, you should make an effort to raise it and not let it droop as you become fatigued. You should push up through the mid-back region to make sure that the top portion of the exercise is completed.
4. Body Alignment
At the beginning of a Push Up, the body should be in a straight line from the head to the toes. Have someone use a broom handle to compare the alignment of your back, and adjust your posture based on their comments.
Tightening of the abdominal muscles and a squeezing of the buttock muscles should bring your body into proper alignment.
If your form deteriorates and your back starts to curve while working out, it’s time to cease. A curved spine often shows there is a lack of strength in the core muscles and it may be a better idea to begin with exercises designed to increase the strength in the core, before you advance to doing push-ups.
5. Head
The positioning of the head and neck should follow a straight line from the feet up. One should take a glance right in front of the hands for guidance.
Maintain your head in one position during the whole exercise, even if you become fatigued, avoid any motion on your part.
The Ab Rollers that many people often consider to be of low quality are responsible for causing weak neck muscles when these exercises are completed. You are only as powerful as your weakest point!
6. Arms
Don’t thrust your elbows outward during both the descending and ascending steps of the exercise. Do not begin by pushing with your elbows out. Position your arms close to your torso for an advantageous shoulder angle.
On the way down in a Push-Up, press your hands firmly into the ground near your body to activate the Latisimus Dorsi muscles along the sides and back. As you go down, you should be able to feel the muscles under your armpits contracting.
You should try to fully extend your arms when you reach the peak of the motion. Don’t jerk the arm back, but instead make sure to extend it completely so the triceps muscles in the back of the arms can be activated.
7. Speed
I suggest executing a controlled-paced push-up taking 2 seconds to lower your body and 2 seconds to raise it. Do not let your body fall to the floor.
Pull the body down under control. During the descent of the exercise, you will build more strength than if you simply allow yourself to fall to the ground. Don’t forego this opportunity to work out by skipping out on the key part!
When doing push-ups, focus on the technique and accurately controlling the motion rather than a slower drop-down and an explosive pop-up at the start.
8. Depth
Your aim should be to bend your elbow to form a right angle. Beneath this point, the possibilities for injury to muscles and tendons become greater. Exercise caution if you plan to use push-up bars because they may cause you to lower yourself too far.
If you require guidelines to work out more deeply, place a towel that is wound up beneath the chest area and strive to make contact with your sternum every time you repeat the motion.
9. Breathing
As you lower yourself into the push-up, inhale deeply and exhale as you push yourself off the floor.
When doing more strength-based variants of push-ups such as claps and plyo push-ups, it might be necessary to hold your breath briefly to achieve maximum core stability.
You must hold your breath while exercising in order to take full advantage of the diaphragm, which acts as a supplementary core stabilizing muscle. By doing so, you will be able to commit to the workout and perform it with the most effort.
What if you Cannot Do 1 Push Up
Many people struggle to perform just 1 perfect push-up.
Women find it particularly challenging to do the push-up due to their weaker body strength. There is no sexism intended here; it is simply a fact that men typically possess more strength in the upper body.
If you find the standard Push Up difficult, it is essential to make the motion simpler in order to execute it properly, safeguard yourself against harm, and develop good movements.
Here’s how to do it:
- Wall Push-Ups: start by performing push-ups with your hands against a wall and feet 3 feet from the wall. When you can perform 20 repetitions move on to the next level
- Table Push-Ups: next perform the push-up with your hands on the side of a table. Ensure the table is against a wall so it does not slip. After 20 repetitions move to the next stage
- Stool or Chair Push Ups: the final stage is taking the hands even lower onto a chair or stool. Once you can complete 20 repetitions move down onto the floor
- Half or Seal Push-Ups: you may not need this stage but if so perform the push-ups off your knees. It’s very important that you maintain a straight line from head to knees even during this version of the push-up
Different Ways to Perform a Push-Up
Feet Elevated on a Bench Pushup
In order to do this exercise, you will require a bench. We’ll be altering the focus to be more on the chest muscles and shoulder muscles, while still keeping a similar motion.
Take a seat on a bench, lift your feet up and put them on the bench, and put your hands in their typical position with them being apart from each other by the width of your shoulders. From here, proceed with the normal pushup movement.
You should recognize that the pushup with your feet raised is similar to an incline bench press, focusing its attention on the top of your chest and the surrounding shoulder area.
Hands-on a Bench Pushup
Alright now, hold onto that bench. This will be employed in the following alteration as well. We’re taking your legs away from the raised position and putting them on the floor.
In this next form, keep your hands roughly shoulder-width apart when you place them on a bench. Bend your torso down until it’s touching the bench, and push off until you’re back in the starting posture.
The technique of a hands-on bench pushup is similar to the motion pattern of a decline bench press. You should experience a sensation in your abdomen and arms.
Close Grip Pushup
Did someone say triceps? A lot of people you observe in the gym will be doing close-grip push-ups to work their triceps.
There are various positions you can assume with your hands in this situation. A classic diamond pushup is an option, but you can also arrange your hands slightly inwards of shoulder width.
Truth be told, both work similarly too. The only distinction between the two is that the diamond pushup needs greater elbow flexion than a typical close-grip pushup.
Do a pushup, but this time make sure your hands are closer together than normal. Move through the same range as you would with a traditional pushup.
Wide Grip Pushup
Many people state that employing a wide-grip pushup is an effective way to engage the “external chest”. This statement is significant since pushups are more effectively done with the chest being well-separated.
For these exercises, take a stance with your hands positioned slightly wider than shoulder-width apart. The same moves as the other varieties of pushups should be used now.
Some may notice some elbow pain with this variation. Having the hands spread out makes it more difficult to keep the elbows forming a “V” shape.
My best advice is to experiment a little. If it causes pain, don’t do it. If it does not give you what you want, but you are having fun and it is assisting you in achieving your objectives, then keep doing it.
Stability Ball (Hands-On) Pushups
It’s time to challenge your core and shoulder stability. Try this exercise by putting your hands on a stability ball and getting into a pushup position.
Do the normal motions you usually do, bending your chest down towards the stability ball. Go back to the original position you were in for the pushup and move in the opposite direction.
This workout is designed to strengthen your abdominal muscles, biceps, and deltoids.
Stability Ball (Feet On) Pushups
For this pushup, put your legs on a stability ball instead of the last variation.
Your core muscles will remain active while doing this workout, but you will see a difference in the strain on your chest in comparison to the last bodyweight exercise you did.
TRX (Hands-On) Pushups
A good variation for the pushup using the handle of a TRX is to place your hands on it, allowing for an increased stretch for your chest muscles.
Almost all leisure centers have a TRX system available that can be used to increase the difficulty level of bodyweight exercises.
TRX (Feet On) Pushups
Doing a pushup with your feet positioned on the TRX apparatus is an amazing approach to toughening your core and training your upper chest and shoulders.
For this exercise, link your feet onto the TRX straps, place your palms at a rough shoulder distance apart, and do the usual pushup motion.
One Legged Pushup
Pushups done with one leg require the user to place the toe of the free foot onto the heel of the foot still on the ground while performing the exercise.
Lifting one of your legs up in the air will help you strengthen your abdominal muscles. In addition to where your feet are placed, the rest of your position for doing this version of the push-up will be the same as a normal push-up.
One Arm Pushups
If you’d like to sport the same physique as Rocky, this is the routine to try. This variation of the exercise can be difficult to accomplish.
To do the one-arm pushup, put your feet a bit wider than your shoulders and place your hand in the center of your body.
You shouldn’t get frustrated if you cannot execute these straight away, since they require extensive training to do correctly.
Shoulder Tap Pushups
Performing a shoulder tap pushup is a great way to improve your steadiness and consequently your core muscle power.
The same technique used in a normal pushup should be done, with only one difference: after finishing the pushup, one hand should be raised and touch the shoulder on the other side. Switch which hand touches each shoulder after every push-up.

