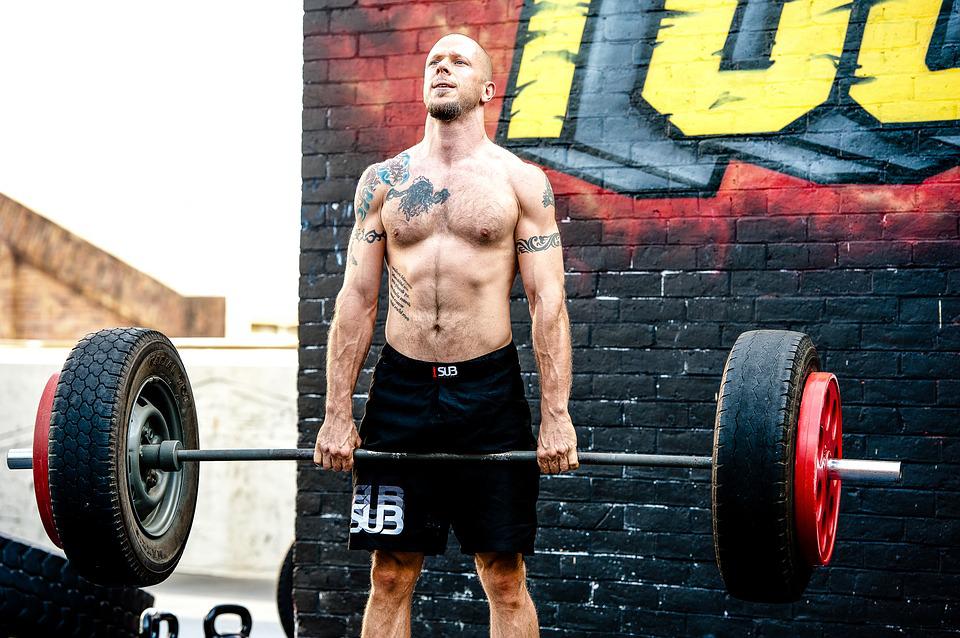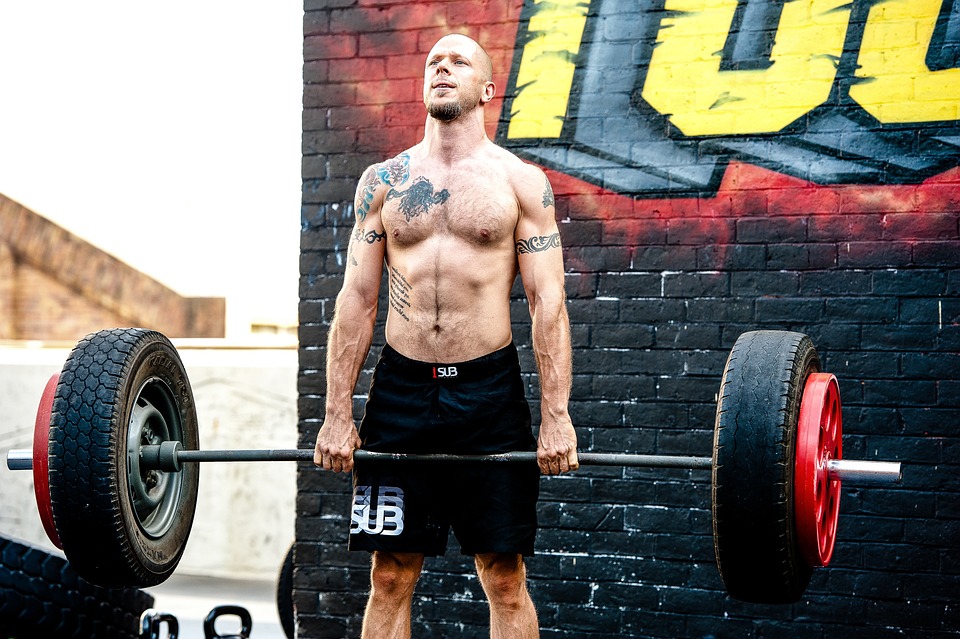
It’s simple, really. Deadlifts are known as the king of all lifts.
The reason they are called “the king of exercises” is because they work almost every muscle in the body and produce large anabolic hormonal changes.
A deadlift workout program is perfect for a beginner lifter who’s looking to build a solid foundation of strength and muscle mass, athletes recovering from an injury or break, or anyone trying to bust through a strength plateau.
Most experts agree that a deadlift program should be included in any strength-building plan. It can be more of a challenge to know where to start than to actually do the exercise.
Learning How to Deadlift: Conventional Deadlift Workout Basics
Improper deadlifts can cause serious injury. Deadlifts are a great exercise, but they get a lot of hate that they don’t deserve.
Working with incorrect forms or using weights that are too heavy for you can result in injury to your back. That’s called common sense.
Despite what some people may say, deadlifts are a great way to stay strong and avoid injury both in and out of the gym.
When you have a strong grip, lower back, upper back, legs, arms, abs, and traps, you are less likely to get injured.
In contrast, the gym bros are doing curls and benching on the Smith machine. There’s no comparison.
Knowing the proper form (spine, hip, and knee movements) and the right grip does two things:
- It makes sure stress is being placed on the muscles so that they can grow and become stronger–not the joints and supporting soft tissues
- The optimized technique allows you to lift more weight, thereby building more strength and muscle, which then lets you lift more weight…you get the picture
If you want to become good at both conventional and sumo pulling and reach elite levels of strength and muscle, you need to know the concrete fundamentals of both variations.
The Proper Deadlift: Do it Right
A deadlift is a full-body movement that should not cause pain in the back when done correctly. The tension should be focused on the hamstrings, glutes, and back muscles rather than the spine, although deadlifts do target the spinal erector muscles.
Although practicing good form will help prevent injury, it is important to understand that there is always some risk involved with deadlifting, or any other exercise. However, by maintaining the correct stance and movement, you will distribute the weight load properly. Likewise, it ensures the maximum return for the effort.
That’s why you want to be able to keep the bar close to your shins and your hips as you start to pull. Pulling the barbell close to your shins and hips creates a more efficient barbell path from the floor to the lockout position. This will allow you to use the most weight possible, and therefore make the most progress.
Start With The Hip Hinge
The hip hinge is a crucial motion when learning how to do deadlifts. The pull can be performed without using quads by just using hip movement instead. This helps to eliminate strain on the knees and keep the spine in a neutral position.
The quads’ primary function in the conventional deadlift is to keep the lower leg bone (tibia) anchored and the knee extended, in opposition to the hamstrings’ contraction.
The hip hinge is a movement in which the hips are moved from full flexion (when the knee is at the chest) to extension (standing position, or leg behind the torso) while maintaining little to no movement in any other joints. Hip joints are able to rotate and move in other directions due to their spherical shape. This allows for a greater range of motion.
To hinge the hip, brace the upper body and tense the hamstring and glutes below the waist. The main movement comes from the hips, not the knees or back.
Stance Width
The wider the stance, the more weight that can be lifted. While there is no definitive stance width that works for everyone, each person has their own ideal stance width, depending on a number of factors including body type (height, arm length) or personal preference.
A standing jump is a good method to use to determine how wide your stance should be. The feet should be positioned before taking off. You should start by positioning your feet hip distance apart. Experimenting with different techniques is common among weightlifters once they have perfected their form to find what produces the strongest results.
Toe Angle
There are advantages and disadvantages to different toe angles, but the main thing to remember is that, except in a rare, very wide sumo stance, it is important to keep the toes and knees aligned.
Placing your feet further apart when you start to lift the barbell off the ground will help you generate more speed and momentum.
There is only a small difference in strength when deadlifts point their feet straighter, but this can help improve their technique.
Performing The Proper Deadlift
Now that you understand the basics, it is time to explore different ways to set up your device.
- feet shoulder-width apart
- bar over mid-foot
- shins touching the bar
- shoulder blades over the bar
- hips higher than knees
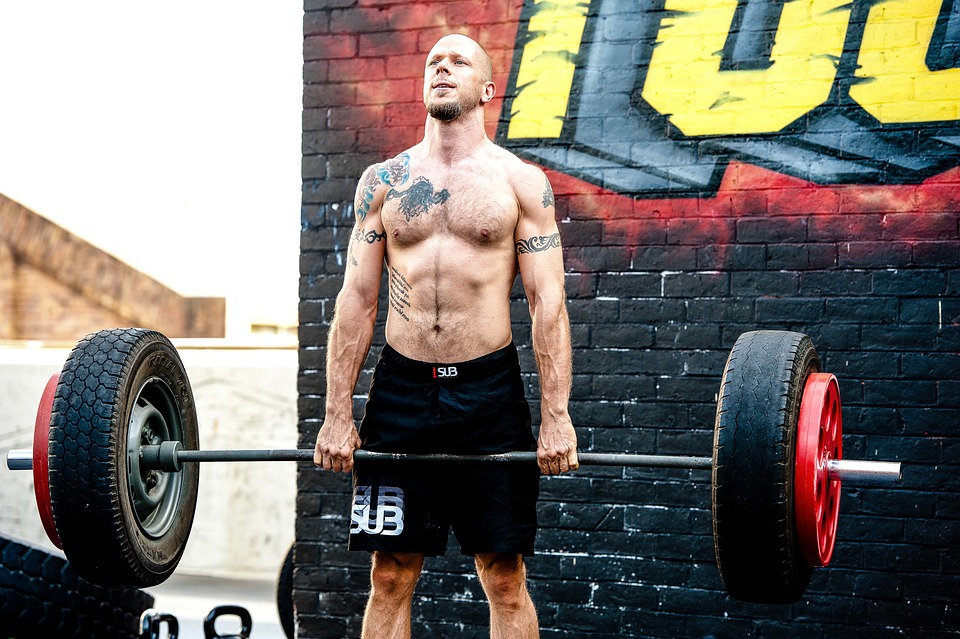
The conventional deadlift can be performed with the feet shoulder-width apart, the bar over the mid-foot, shins touching the bar, shoulder blades over the bar, and hips higher than knees. There are also other deadlift styles, like the Sumo deadlift. The table below can help you decide which diet will work best for your body type.
Best Setup Techniques for Pulling—How To Do A Proper Deadlift
Different techniques that can be used when initiating and completing a proper deadlift include: – Starting with the barbell on the ground, and using your legs to lift it up – Keeping your legs straight, and using your back and hips to lift the barbell up – Allowing the barbell to roll up your shins until it reaches your knees – Using your quadriceps important extension, and your hips and glutes to lift the barbell up to your hips – Keeping the barbell close to your body, and using your hips and glutes to drive the barbell up until your legs are straight – Squeezing your glutes at the top of the lift to ensure good posture. Some exercises are more beginner-friendly than others, and it’s ultimately up to the individual to figure out which technique works best for their biomechanics—and thus allows them to lift the most weight.
Option 1. Hamstrings tense, back tight as you approach the bar.
Place your feet shoulder-width apart, then bend over and grab the bar. Move your hips back, keeping your knees slightly bent and your spine flexed. While keeping your hamstrings tight, take a breath and extend your lower spine by pushing your hips backward. Pull the chest high and then pull the weight.
Option 2. Back tight, legs compressed.
The same approach as before, but this time, the back is extended, the body is hinged at the hips, and the knees bend to grip the bar. Your core should be tense and your upper back should be tight. Your hips should be in line with your legs, which should be compressed against the floor.
Start the pull.
Option 3. Rock the hips into position.
This time, when you grip the bar, be sure to shift your weight forward onto your feet. Shift your hips back into place and put your weight onto the middle of your foot, then pull.
Option 4. Clean pull, hips start low.
Grip the bar and settle into a squat position with your back straight, the weight behind you, and the bar touching your shins lightly. Extend your spine and use your legs to push through the floor during the pull.
Option 5. Grip it and rip it.
This technique is not recommended for beginners because it requires a very strong understanding of the form (from having completed thousands of repetitions). To deadlift, start by hinging down to the bar. Grab the bar and then pull it up in one quick motion.
Performing the Pull
The setup is complete, the stance and grip are set, the breath is taken, and tension in the body is prepared.
Now it’s time to actually perform the pull.
One of the most important aspects of picking up a very heavy barbell is having the right mindset.
- Don’t focus on the bar, or think about how to ‘pick up the bar.’ If that happens, generally people round their backs and increase their risk of injury.
- Extend the knees and hips while keeping the spine stiff. It can help to think ‘chest up,’ because doing that, it requires the body to extend the thoracic part of the spine.
- Think about driving the floor away, rather than pulling the bar up from it. The mental aspect may not make perfect sense, but it works. Plus, it helps people keep their hips from rising too fast at the beginning of the pull.
Hip extension is key after the first few inches. The main focus after the bar is airborne is to extend the hips without causing the spine to flex.
This is absolutely key. This prevents anterior pelvic tilt from placing the load on the wrong area.
Strategic Methods For Busting Through Deadlift Plateaus
When things are going well in training, the deadlift is great, but what do you do when strength stalls, 1-RMs don’t budge, and you feel like you’re not making any progress? Insert what could be a deadlift plateau. Plateaus can be a gift and a curse. While hindsight is 20/20, it can be frustrating to constantly be second-guessing your training. However, these moments can also be seen as a gift, as they present an opportunity to train more objectively, try new things, and expand your horizons to different methodologies.
Deadlift Plateau Techniques
Overall Deadlift Plateau
Common issues people have with their workout routines include feeling like they’ve plateaued and their muscles are no longer improving, not having a solid base of strength to build upon, and having trouble with technique. Another problem people face is not understanding how to properly work out.
1. Avoid the Barbell
If you’re not happy with your barbell deadlift, then don’t do it for a while. If you’ve been stuck at the same workout routine for a while without seeing any progress, sometimes it can help to take a break from it. By indirectly giving yourself a break, you may find it easier to break through the plateau you’ve been stuck at. If you’re finding the barbell deadlift to be frustrating, taking a break from it for a training cycle can help you relax both physically and mentally. This can help you refocus and become more motivated.
The following are some movements you can use to replace the barbell deadlift in your training cycle.
- Trap Bar Deadlift
- A Second Squat Day
- Barbell Rows
- Good Mornings
- Leg Press
The options mentioned above differ in how they are performed, but they are all effective in their own way. These options allow you to train with high intensity while targeting multiple muscle groups simultaneously. Additionally, they all have the potential to increase strength in the deadlift when incorporated into your programming.
2. Tempo Deadlifts
There are few deadlift variations that are as successful as tempo deadlifts. This variation prevents any imbalances or compensations you might have in your deadlift. I had a pretty bad hip shift during my sumo pulls that I wasn’t acknowledging until I did a mesocycle with tempo deadlifts.
The concentric and eccentric tempos helped me understand why the hip shift was happening, then I was able to fix it by reinforcing the correct motor patterns because the tempo was slower. I moved my leg to the side to keep myself balanced while I was going up from the floor. I did this because I was not balanced after my surgery.
If you want to add tempo deadlifts to your program, try doing the following:
Drop intensities by 10-25%
Perform normal sets with:
- 3-second concentric
- 1-second hold at the top
- 3-second eccentric
- 1-second hold at the bottom
3. Squat More
The squat can actually have a pretty big impact on how well you do when deadlifting. If you don’t train as a powerlifter, this method is a great way to improve your skills as a novice or intermediate athlete.
As with the first point, when you are training, take a break from deadlifts and do a different exercise, like squats (front, high-bar, low-bar, safety bar squats, etc.) The muscles worked in squats – the adductors, core, glutes, and quads – can all help improve deadlift performance.
Missing Off the Floor
Latissimus dorsi disengagement, bar path shifting away from the body, and bracing issues are typical problems.
4. Mid-Shin Pauses
If your shins are not touching the floor, and more specifically, if they are in the mid-shin range, then adding mid-shin pauses to your routine can be an excellent way to build strength in this posture and to develop patience when not touching the floor. This deadlift variation will also improve your ability to pull the slack out of the bar. Misses that are not due to a lack of strength can be related to how the person is positioning themselves before moving the bar.
For the duration of one mesocycle, decrease the intensity of your lifts by 10-20% and perform pause reps at mid-shin level for 1-2 seconds. If you’re not having trouble gripping the bar, then you can put all your focus into the strategic pause you added.
5. Deficit Deadlifts
You can make the deadlift more intense by adding a range of motion at the bottom, without adding additional weight. The deficit deadlift can help lifters who have trouble maintaining their hip angle at the bottom of the pull and staying patient off the floor.
This variation of the deadlift can also improve leg drive, which is a useful cue to remember when pulling. If you apply downward force to the floor while also pulling upwards, you can double the amount of force you can produce during the early part of the deadlift movement.

