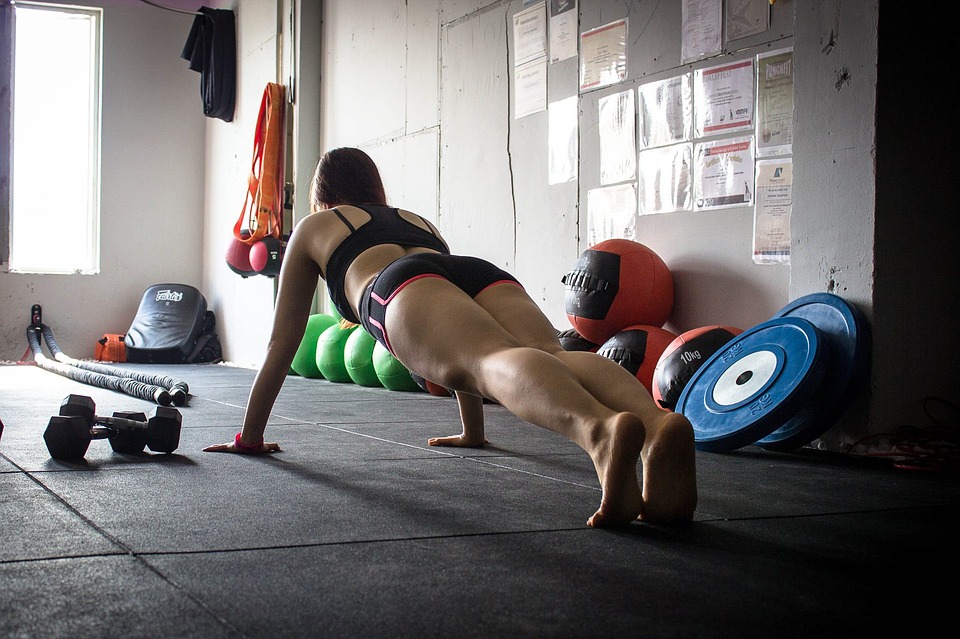
A couple of years ago, the plank challenge was popular on social media with people claiming how good this workout was. While the world seems to have moved on from this trend, the benefits of planks still exist. If you would like to start working on your own core and abs, then the 30-day plank challenge for beginners is the best place to start.
The following article will list the benefits of a workout routine known as the “plank”, as well as provide instructions on how to do the exercise. In addition, the article will offer suggestions on ways to keep the plank interesting and enjoyable for those attempting the 30-day challenge.
What Are The Benefits Of A 30-Day Plank Challenge For Beginners?
If you are not sure if you should commit yourself to the 30-day plank challenge for women beginners and men, here are some benefits of this exercise that might change your mind and make you hop on the bandwagon:
Abs
Although having a six-pack of abs may not be the goal for everyone, it is something that many people strive for. Even if you don’t achieve this in the 30 day challenge, you will have built up and strengthened the muscles in your core. These exercises are beneficial for developing abs as they work all the muscles in your core, including the rectus abdominis (the muscles which can be seen), transverse abdominis (the deepest abdominal muscles), internal and external obliques (muscles on the sides), hips, and the back muscle.
It Is A Full-Body Workout
Many people do not realize that this workout not only exercises your core, but also your biceps, shoulders, and arms. The correct posture during this workout also allows you to work out and build the muscles in your neck, glutes, and thighs.
Strengthens Your Spine And Back Muscles
However, if you don’t use proper form when doing these exercises, you can end up placing too much stress on your spine, which can lead to back injuries. Although certain workouts such as squats, pushups, glute bridges, lunges, and pull-ups can help build muscles in your back and hips, incorrect form when doing these exercises can lead to back injuries. To avoid placing too much stress on your spine, be sure to use proper form when doing these exercises.
Boosts Your Metabolism
Holding a plank position for prolonged periods of time can help improve your strength and endurance while also challenge your body and helping you to burn calories. Additionally, because planking engages and helps build muscle, it can also help to boost your Basal Metabolic Rate, meaning that you continue to burn calories even when you are at rest.
Helps Improve Your Posture
This workout strengthens your back, chest, shoulders, neck, and abs, making it easier to keep your shoulders back and your lower back in a neutral position while sitting or standing – two vital components of good posture.
Improves Your Balance
According to the text, the 30-day plank challenge is beneficial for improving posture and strengthening core muscles. This is achieved by working out the muscles used to maintain proper balance and support the body’s weight.
Can Have A Positive Impact On Your Mental Health
Exercise has been found to not only reduce the risk of physical health problems such as all-cause mortality, cardiovascular disease, stroke, and diabetes, but also to have significant mental health benefits. In a 2018 study, it was shown that people who exercised regularly had 43.2% fewer days of poor mental health in the past month than those who didn’t exercise.
How to Do a Plank
Find a place where you can lay down and stretch your whole body out. An exercise mat will give you enough cushioning to be comfortable on all fours. You can choose whether to perform a plank on your palms or your forearms.
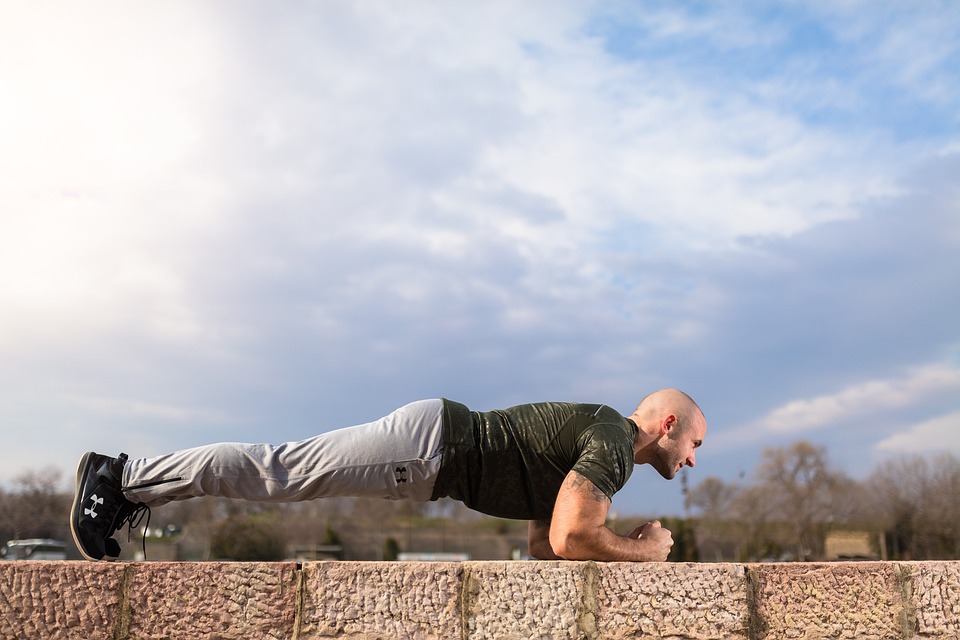
- Begin in the plank position, face down with your forearms and toes on the floor. Your elbows are directly under your shoulders and your forearms are facing forward. Your head is relaxed and you should be looking at the floor.
- Engage your abdominal muscles, drawing your navel toward your spine. Keep your torso straight and rigid and your body in a straight line from your ears to your toes with no sagging or bending. This is the neutral spine position. Ensure your shoulders are down, not creeping up toward your ears. Your heels should be over the balls of your feet.
- Hold this position for 10 seconds. Release to the floor.
- Over time work up to 30, 45, or 60 seconds.
How Long Should I Plank?
The answer varies from one person to another.
One spine specialist believes that holding a plank for 10-second intervals is best to avoid back and spinal injuries. Some people believe that holding the position for 30 seconds to a minute is best, while others say that two minutes is the maximum amount of time that someone should hold the position.
The consensus is that women beginners and men should try holding each plank position for intervals of 20 seconds to 30 seconds, and can increase it to a full minute for a more challenging workout. If this feels too tiring, reduce it to 10 seconds per interval and gradually increase your time to challenge yourself even more.
Do three sets of each of the variations you choose.
The Easiest Plank For Beginners?
When we think about starting this challenge, many of us will automatically try the basic variation either on our elbows or stretched arms with the legs straightened out behind us. If you have tried either of these versions and find yourself struggling, try the version below that is considered easier:
Kneeling Plank
- Begin in a prone position supporting yourself on bent knees and palms with extended arms and soft elbows (don’t lock the elbows).
- Slightly shift your weight forward and ensure that your body is in a straight line from your ears to your knees.
- Remember to breathe and keep your core engaged by pulling your navel to your spine.
- Hold this position for 10 to 30 seconds.
This variation of the plank is said to be good not only for beginners, but also for people who may have some back problems, as it puts less stress on your lower back.
Other Plank Variations To Add To Your 30-Day Plank Challenge For Beginners
Low Plank
Instead of balancing on outstretched hands, you balance on your elbows and forearms.
Side Plank
- Begin by lying on your right side, with the legs extended and stacked from hip to feet.
- Place your right elbow directly under your shoulder and ensure your head is directly in line with your spine. Keep your left arm aligned along the left side of your body.
- Engage your abdominal muscles, draw your navel toward your spine, and keep breathing.
- On an exhale, slowly and steadily lift your hips and knees from the mat. Stop once your torso is straight in line with no sagging or bending.
- Hold this position for 10, 20, or 30 seconds – or as long as you can before returning to the start position on the mat.
- Change sides and do the same on the other side.
If you want to make this variation more challenging, raise the arm not holding you up to the ceiling.
Elbow Planks With Knee Tap
- Begin in a low plank position with your hands directly below your shoulders, your core engaged, and your body in a straight line from your head to your heels.
- Slowly lower and tap your left knee to the ground without moving your hips. Lift your left knee back up, returning to the starting position.
- Repeat the same movement with the right leg. This one rep.
- Do this for 10 reps or set an alarm and do as many as you can in 20 to 30 seconds.
Tabletop Plank
If you find the plank position difficult at first, you can try this variation to help build strength. The position is done with your knees bent and lifted, which takes some pressure off your feet and helps build core strength.
- Practice plank from a tabletop position by actively pressing into your hands and pulling your abs in, which will help you learn how to keep your spine neutral, as pictured.
- You can also tuck your toes under and practice lifting your knees slightly off of the floor.
Incline Plank
An incline plank is an easy variation of a regular plank. You can do this exercise by placing your forearms or palms on a bench or step.
- Place your forearms or palms on a flat, elevated surface with your elbows directly under your shoulders.
- Walk your feet back until your body forms a straight line on a diagonal.
- Pull your abs in as you tuck your tailbone slightly and actively press into your forearms or palms.
Plank With Leg Lift
Ge the plank position with your forearms and toes on the floor. If it’s too difficult, put your hands on the floor instead of your forearms.
- Slowly raise one leg 5 to 8 inches off the floor
- Count to two and slowly lower your leg to the floor.
- Switch legs and repeat.
- Do two to three sets of 10 reps.
Plank With Arm Lift
You can make the basic plank more interesting by adding an arm lift. To do this, press into the opposite forearm or palm. To perform a plank with an arm lift, follow these steps:
- Start in plank position.
- Carefully shift your weight to your right forearm (or palm).
- Extend your left arm straight out in front of you.
- Hold for three seconds while keeping your core tight.
- Slowly bring your arm back to starting position.
- Switch arms and repeat.
- Do two to three sets of 10 reps.
Planks With Shoulder Taps
- Begin in the standard position – with arms shoulder-width apart and outstretched beneath you, core engaged, and your body in a straight line from head to heels.
- Keeping your hips square and in position, working hard not to let them sway side to side, lift your right hand to tap your left shoulder. Bring it down and then lift your left hand to tap your right shoulder.
- Make sure that you are well balanced so you do not fall over while lifting one hand.
Knee To Elbow Plank
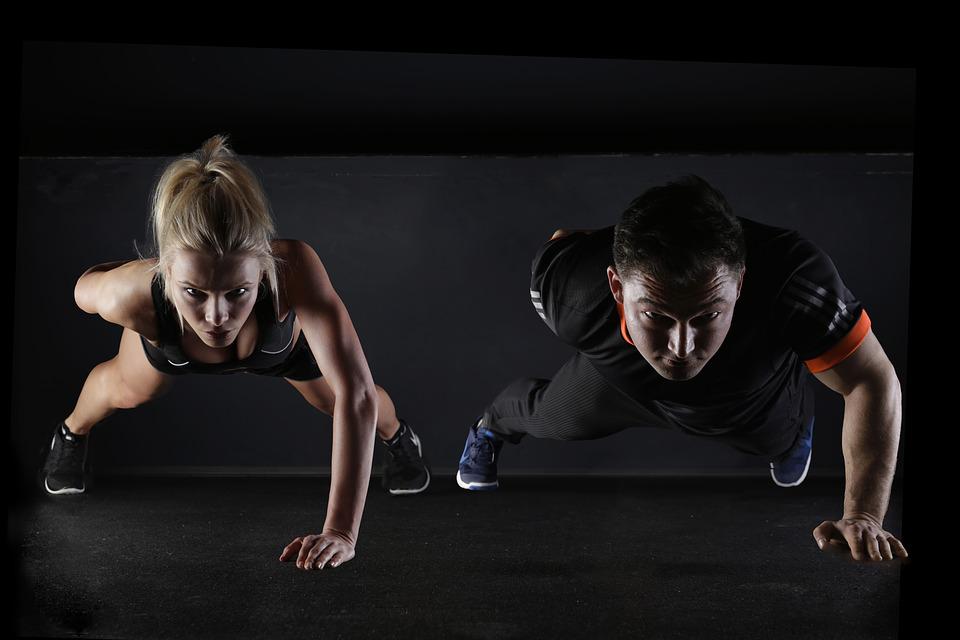
- Begin in the top of a push-up position with hands directly beneath your shoulders.
- Tighten your core and bring the right knee to the outside of the right elbow. Pause here for a moment before straightening the leg back behind you.
- Switch to the left knee and repeat the movement. Do this for 20 to 30 seconds. You can push it for a minute if you feel able.
Plank Hip Dips
- Begin in a low/elbow plank position. Slowly rotate the spine to lower your left hip to just above the floor – about 1 or two inches above the floor. Hold this position for a minute and then rotate back to the starting position.
- Rotate your spine again and now lower your right hip. Get back to the starting position and repeat the whole process all over again.
- Do this for 20 to 30 seconds.
Plank Up Downs
- Begin in a standard high plank/push-up position. Lower your right elbow to the mat and then your left, coming into an elbow plank.
- Put your right hand on the mat, and straighten your right elbow. Do the same on the left to return to a full plank.
- Continue doing this for up to 30 seconds – or more depending on how winded you are.
Common Mistakes
To avoid strain or injury, avoid these errors.
- Arching your back: If you arch your back, you are not engaging your abdominals sufficiently and you are putting more of the weight onto your arms. Check to be sure you are keeping your shoulders down and wide.
- Sagging your hips: Your hips will start sinking once your abs have reached their fatigue limit. That’s a sign it’s time to end your plank. If it seems your hips are sagging from the beginning, try separating your feet a bit wider and focus on engaging your abs.
- Tilting your head up: Your neck should be in line with your body, not tilted up, which could strain the neck. Keep your gaze down at the floor.
The Bottom Line
The 30-day plank challenge for beginners can help improve strength in your core. However, it’s important to note that this exercise alone won’t lead to weight loss or help you develop abs. To achieve these things, you need to improve your diet by consuming healthier foods and adding more exercise to your routine.

